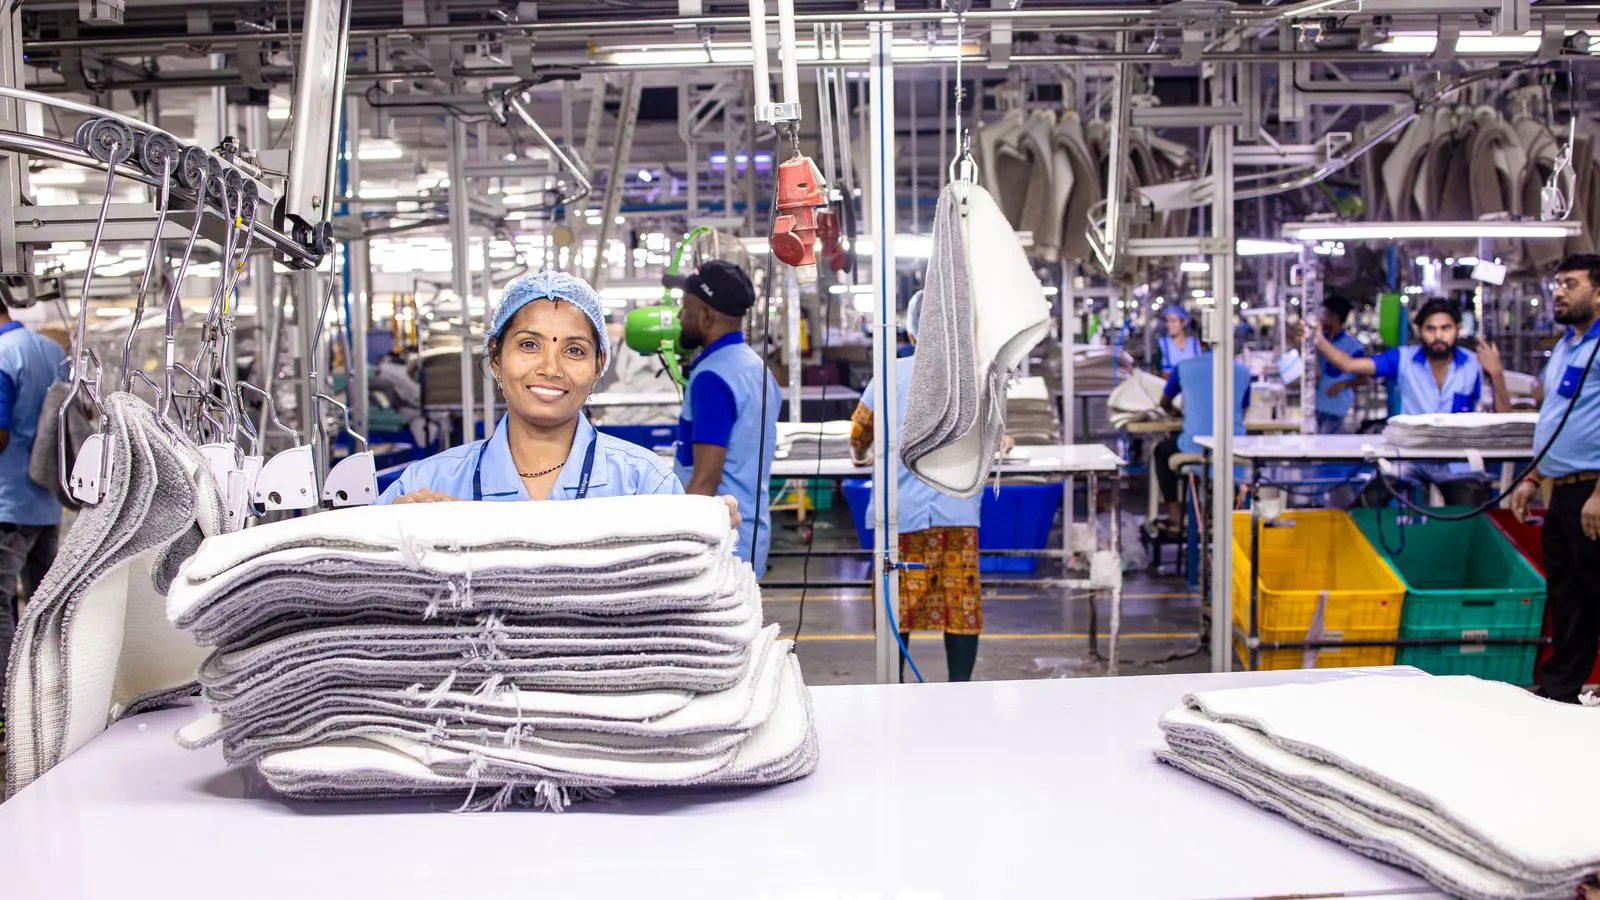
Pre-Shipment Shoe Inspection Checklist for Importers
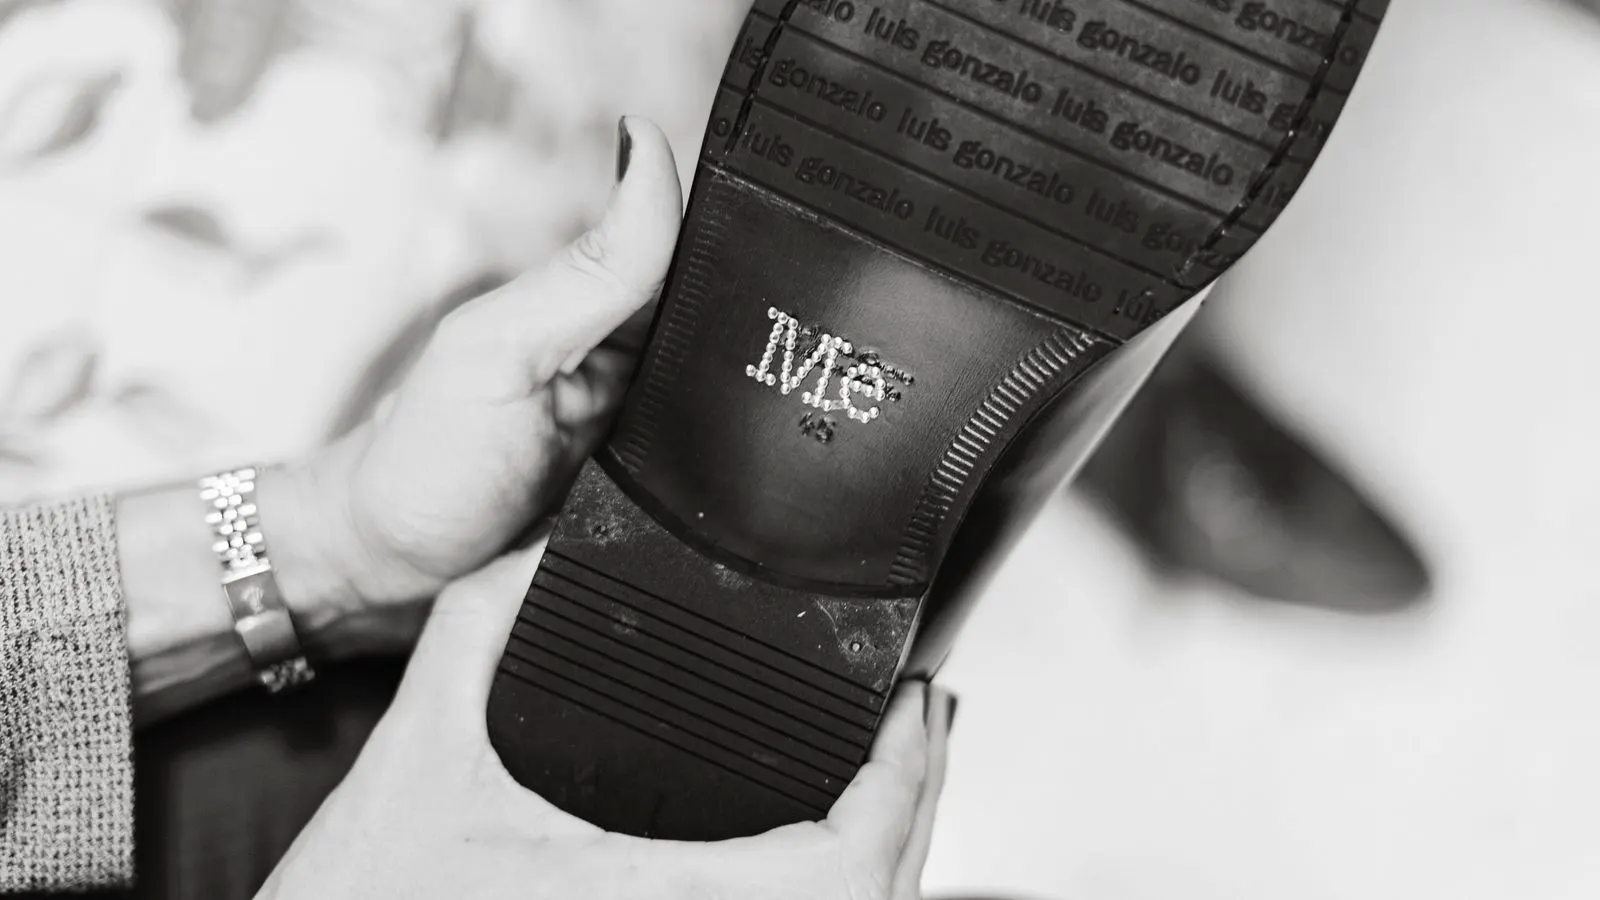
A pre-shipment inspection checklist helps importers catch defects before freight costs. This guide breaks down shoe inspection standards into material, assembly, and documentation checks. It also covers export footwear regulations and factory quality audits to prevent rejections.
- Inspect the upper, sole, and lining separately to catch distinct failure points.
- Verify material composition against purchase orders to satisfy export footwear regulations.
- Document every defect with photos and serial numbers during factory quality audits.
- Confirm that labeling, sizing, and barcodes match destination market requirements.
Why Pre-Shipment Inspection Matters Before Freight
Rejection at the destination port usually stems from a defect that was visible at the factory floor. Importers lose money on rework, storage, and demurrage when shoes fail to meet agreed specifications. A structured pre-shipment inspection checklist protects margins by identifying these issues while the supplier still holds the cost of correction.
This guide focuses on shoe inspection standards that apply to finished goods. It covers physical checks, material verification, and documentation. The approach assumes a commercial order of mixed styles and sizes, typical for mid-market buyers.
What to Check in the Upper and Lining
The upper is the most visible component. A defect here often leads to immediate returns. Inspect the material for pinholes, scratches, and color variation under neutral light.
- Check the material type against the purchase order. A leather upper should not have a synthetic coating unless specified.
- Examine the seams. Look for skipped stitches, loose threads, and uneven tension.
- Inspect the lining. The inner material should be flat and free of wrinkles. A tight lining causes heel slippage.
- Verify the insole. It should sit flush with the footbed. A raised edge creates pressure points.
Red flags include a shiny finish that does not match the sample, or a lining that feels sticky. Sticky linings often indicate poor curing of adhesives. This leads to peeling after a few wears.
How to Test Sole Attachment and Construction
The sole is the structural backbone of the shoe. A weak bond here causes the sole to separate from the upper. This is one of the most common reasons for batch rejections.
| Check Item | Method | Acceptance Criteria |
|---|---|---|
| Bond Strength | Twist test | No movement at the seam |
| Edge Glue | Visual inspection | Uniform bead, no air gaps |
| Stitching | Thread count | No skipped stitches |
| Tread Depth | Visual check | Pattern clear, no wear |
| Weight | Scale test | Within 2 percent of sample |
For glued soles, press the edge of the sole against the upper. There should be no give. If the sole shifts, the adhesive failed during curing. For stitched soles, count the stitches per inch. A standard count is often required by the buyer. A lower count weakens the structure.
Red flags include a visible gap between the sole and the upper at the toe box. This gap traps moisture and dirt. It also weakens the bond over time.
Verifying Materials Against Export Footwear Regulations
Export footwear regulations vary by destination. Some markets restrict specific chemicals in dyes and adhesives. Importers must verify that the materials used comply with these rules. This step is often missed when the focus is on aesthetics.
- Request the material safety data sheet for the upper, lining, and sole.
- Check the colorfastness. Rub the color with a white cloth and a damp cloth. If color transfers, the dye is not stable.
- Inspect the adhesives. Glue lines should be dry and rigid. Soft glue indicates a formulation issue.
Factory quality audits often include a review of incoming materials. If the factory uses a different leather tannery than the approved sample, the chemical profile changes. This can trigger a rejection at customs.
Always ask for the batch number of the material. This allows you to trace the defect back to the supplier if a problem arises later.
Physical Durability and Functionality Checks
A shoe that looks good but fails in use is a liability. Perform simple functional tests that mimic real-world wear. These tests take minutes but catch significant quality issues.
- Flex Test: Bend the shoe at the ball of the foot. The upper should flex, but the sole should not crack. If the leather cracks, the material is too stiff for the intended use.
- Heel Rub: Rub the heel counter with a rough surface. The counter should hold its shape. If it collapses, the shoe lacks support.
- Lace Tension: Pull the laces tightly. The eyelets should not stretch or tear. A loose eyelet causes laces to slip.
- Symmetry: Place the two shoes side by side. The toe boxes, heels, and tread patterns should match. A slight variation is normal, but a large mismatch indicates poor cutting.
Red flags include a stiff toe box that prevents natural bending. This leads to discomfort and early failure. It also suggests that the upper material was not conditioned properly before assembly.
Documentation and Labeling Accuracy
Shipping documents must match the physical product. A discrepancy here causes customs delays. The paperwork is as important as the shoe itself.
- Check the size labels. They must match the box and the product. A wrong size label leads to returns.
- Verify the country of origin. It must match the production site.
- Inspect the care instructions. They should list the correct materials and cleaning methods.
- Confirm the barcode. Scan it to ensure it matches the order number.
Export footwear regulations often require specific labeling for safety and materials. Missing information is a grounds for rejection. The label should be durable and not fade. A faded label is a quality failure.
How to Record and Report Defects
A defect that is not documented is a defect that is not fixed. Use a consistent method to record issues. This protects you in any dispute with the supplier.
- Take a photo of the defect from multiple angles.
- Note the serial number or batch number of the shoe.
- Describe the location of the defect. For example, “left heel, outer side, 2 cm from the edge.”
- Measure the defect if possible. A 1 cm deviation is different from a 5 cm deviation.
- Categorize the defect. Is it a cosmetic issue, a functional issue, or a safety issue?
Factory quality audits often require a defect report. This report should be signed by the quality inspector and the factory representative. A signed report creates a paper trail. It shows that the issue was known and not resolved.
Final Sign-Off and Packing Checks
The final check happens before the boxes are sealed. This is the last chance to catch a problem.
- Open a random sample of boxes. Check the contents.
- Verify the packing list. It should match the number of shoes in the box.
- Inspect the box. It should be sturdy and free of water damage.
- Check the tape. The tape should be strong and the seal should be clean.
A loose box indicates poor packing. Loose shoes shift during transit. This causes scuffs and breaks. A clean seal indicates that the box has not been opened. An opened box may contain a defect.
If any check fails, stop the shipment. Do not send the goods. The cost of delay is less than the cost of rejected freight. Use the checklist as a tool to negotiate with the supplier. A clear list of defects makes it easier to agree on a fix.
When to Reject a Batch
Sometimes the defect rate is too high to fix. Rejecting a batch is a business decision. Use the data from the inspection to make the call.
- If more than a certain percentage of shoes have the same defect, reject the batch.
- If the defect affects safety, reject immediately.
- If the defect is cosmetic and minor, negotiate a discount or a credit.
The goal is to protect the brand. A rejected batch damages the relationship with customers. A small delay protects the long-term value of the product. Use the checklist to support your decision.
How to Improve Future Inspections
Inspection is a continuous process. Review the results after each shipment. Identify the most common defects. Share this data with the factory.
A factory that knows its common issues will fix them at the source. This reduces the need for inspection. It also lowers the cost of production. The goal is a process that works well without constant oversight.
Use the data to update the checklist. Add new checks if new defects appear. Remove checks that are no longer relevant. The checklist should be a living document. It should reflect the current state of the supply chain.
Frequently asked questions
How many shoes should I inspect per batch?
A common practice is to inspect a sample based on the total quantity. Larger batches require a larger sample to ensure accuracy. The sample should be random, not taken from the front of the line.
Can I accept a small number of cosmetic defects?
Yes, if the defect is minor and does not affect function. The acceptance level should be defined in the purchase order. Be clear about what is acceptable before the shipment.
What if the factory does not have the material safety data sheet?
Do not ship the goods. Request the document. If the factory cannot provide it, the materials may not be compliant. This is a risk that cannot be taken.
How do I handle a defect found after the box is sealed?
Open the box and document the defect. If the rate is high, reject the batch. If it is isolated, negotiate a replacement or a credit. Keep records of all communication.
Is a factory quality audit the same as a pre-shipment inspection?
No. A factory quality audit reviews the process and the factory's systems. A pre-shipment inspection checks the finished product. Both are needed for a complete quality control system.